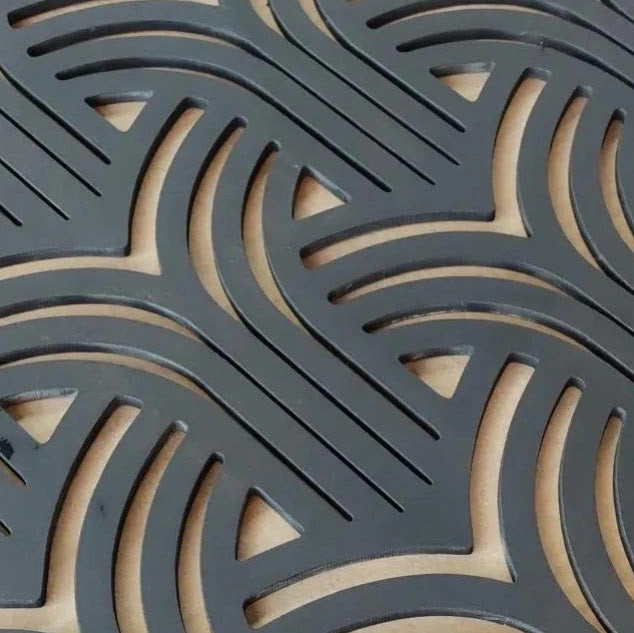
Guide to Painting Perforated Wood Panels
Painting fretboard panels is an essential process to improve the aesthetics and durability of your products. With proper paint application, you can protect your panels from the elements, enhance their natural beauty, and customize them to your liking. In this in-depth guide, we’ll explore all the steps, materials, and techniques needed to paint fretboard panels like a pro.
1. Why Paint Perforated Wood Panels?
Painting is not just an aesthetic aspect, but offers numerous advantages:
-
Protection: The varnish protects the wood from moisture, dust and scratches.
-
Durability: Increases the useful life of the panel by preventing wear.
-
Aesthetics: Allows you to customize the panels with colors and finishes that match your decor.
-
Versatility: Allows you to adapt the panel to different environments, from modern to rustic spaces.
2. Materials Required for Painting the Panels
Before you begin, make sure you have everything you need:
-
Sandpaper (120-220 grit).
-
Wood primer.
-
Paint (water-based or solvent-based, depending on your preference).
-
Brushes or rollers.
-
Soft rags.
-
Protective mask and gloves.
-
Sealant or protective finish.
3. Panel Preparation
Preparation is the most important step to ensure a uniform and long-lasting result.
-
Cleaning: Remove dust and processing residues with a damp cloth.
-
Sanding: Use sandpaper to smooth the surface of the panel. This step helps the paint adhere better.
-
Primer Application: Apply a coat of primer to even out the surface and seal the wood. Allow to dry completely.
4. Painting Techniques
There are different techniques you can use depending on the type of effect you want:
-
Brush Painting: Ideal for small surfaces or for a handcrafted effect.
-
Roller Painting: Perfect for covering large areas evenly.
-
Spray Painting: Ensures a professional and uniform finish, especially for perforated panels.
5. Tips for a Professional Result
-
Apply Thin Layers: Avoid overloading your brush or roller. Multiple thin layers ensure an even result.
-
Sand Between Coats: After each coat, lightly sand with fine-grit sandpaper to remove any imperfections.
-
Follow Manufacturer’s Instructions: Each product has specific drying times and application techniques.
6. Finishing and Protection
Once painting is complete, apply a protective finish to ensure greater durability:
-
Gloss Finish: Gives a shiny, modern look.
-
Matte Finish: Perfect for a natural and subtle look.
-
Transparent Sealant: Protects wood without altering its color.
7. Common Mistakes to Avoid
-
Don't Prepare the Surface: Skipping sanding or priming can compromise paint adhesion.
-
Applying Coats Too Thick: This can cause runouts and uneven drying.
-
Don’t Cover Work Area: Use drop cloths or newspapers to avoid soiling the floor or other surfaces.
8. Personalization Ideas
Painting allows you to transform perforated wood panels into unique pieces:
-
Two-Tone Effect: Paint the edge and center of the panel with contrasting colors.
-
Vintage Style: Use a decapé technique for a shabby chic look.
-
Custom Design: Apply stencils to add patterns or text.
9. Maintenance of Painted Panels
To keep your panels looking like new:
-
Clean with a soft, damp cloth.
-
Avoid harsh chemicals that can damage the paint.
-
Check periodically for signs of wear and touch up if necessary.
Painting fretwork panels is a process that requires time and attention, but the results are worth the effort. By following this guide, you can get custom, protected panels that are perfect for any environment. Choose your materials at EC Laser Studio and start transforming your projects today.
